Mastering the Art of Freshwater Aquarium Water Changes: A Step-by-Step Guide
Regular water changes are the cornerstone of maintaining a healthy and thriving freshwater aquarium ecosystem. Not only do they remove accumulated waste and toxins, but they also replenish essential minerals and maintain stable water parameters. In this comprehensive guide, we’ll walk you through the process of performing a water change and provide insights on determining the appropriate volume for your freshwater aquarium.
Step 1: Gather Your Supplies
Before beginning the water change process, gather the necessary supplies:
• Clean buckets or containers designated for aquarium use
• Gravel vacuum or siphon
• Water conditioner/dechlorinator
• Algae scraper or sponge
• Towels or absorbent cloths
Step 2: Prepare Replacement Water
Fill clean buckets with tap water and add a suitable water conditioner to neutralise chlorine, chloramine, and heavy metals. Ensure the water temperature matches that of your aquarium to prevent temperature shock to your fish and other inhabitants.
Step 3: Turn Off Equipment
Before draining water from the aquarium, turn off any equipment such as filters, heaters, and pumps to prevent damage or injury during the process.
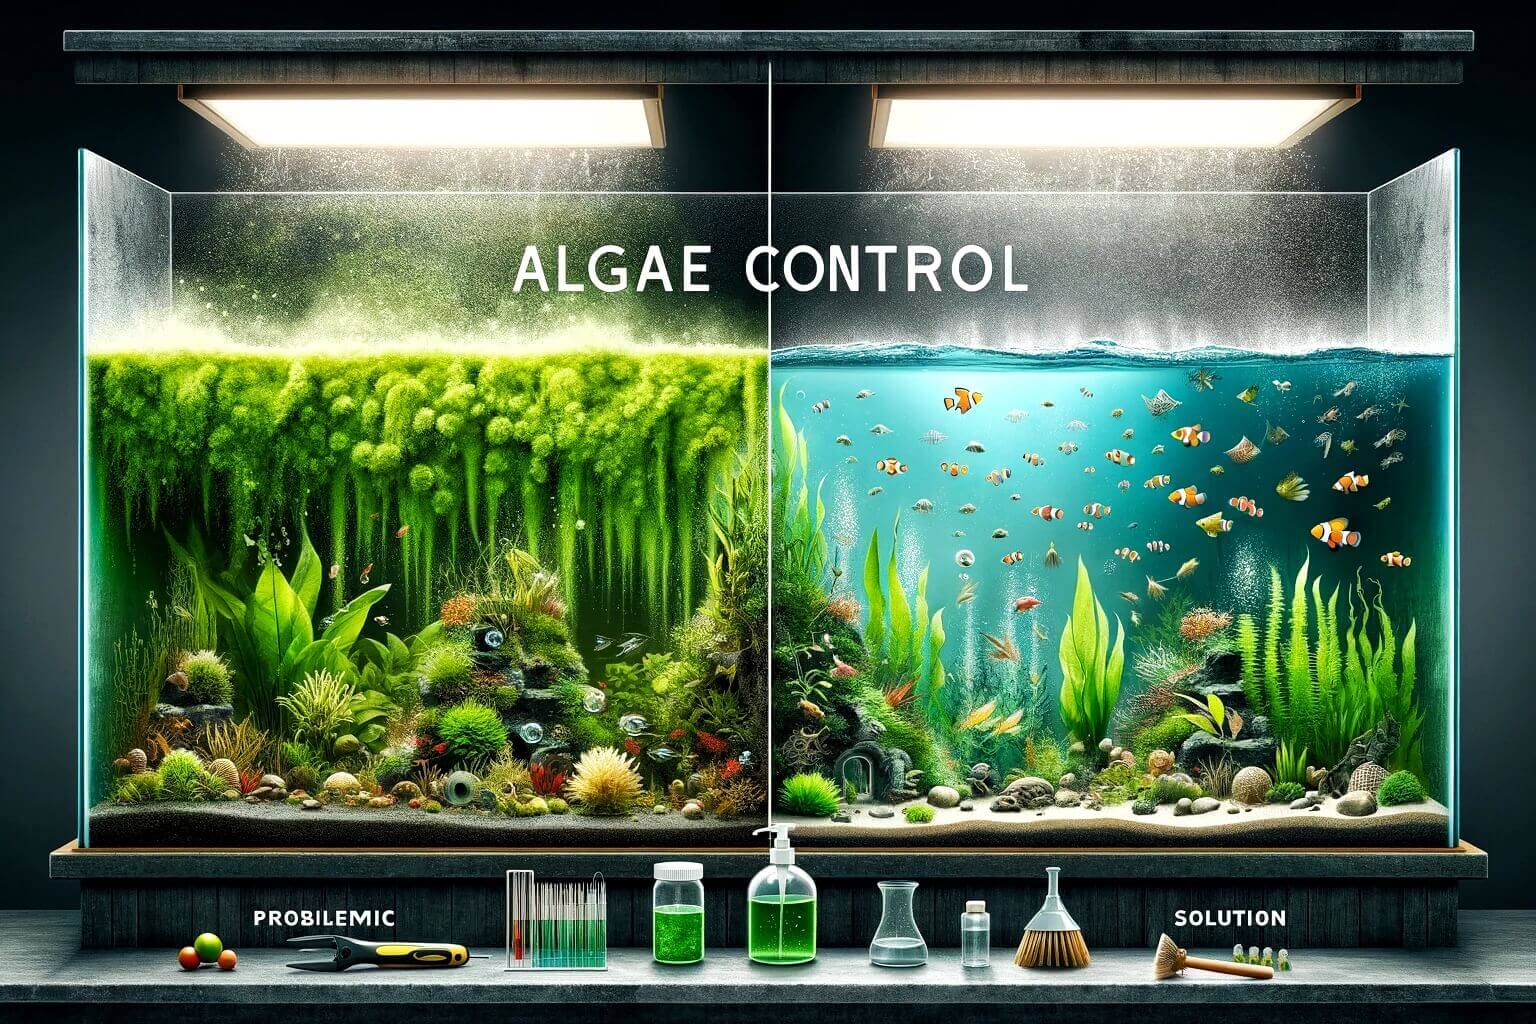
Step 4: Remove Debris and Algae
Using an algae scraper or sponge, gently remove algae from the glass and decor surfaces. Take this opportunity to vacuum the substrate with a gravel vacuum or siphon to remove debris, uneaten food, and fish waste.
Step 5: Drain Water
Using the gravel vacuum or siphon, start draining water from the aquarium into the designated bucket. Aim to remove approximately 10-25% of the total water volume, depending on the specific needs of your aquarium and its inhabitants.
Step 6: Add Replacement Water
Carefully pour the prepared replacement water into the aquarium, ensuring a smooth and gradual transition to avoid disturbing the substrate or inhabitants. Take your time to match the water parameters, including temperature and pH, as closely as possible to the existing aquarium water.
Step 7: Treat Water and Restart Equipment
Add the appropriate amount of water conditioner to the aquarium to detoxify the replacement water and make it safe for your fish and other aquatic life. Once the conditioner has been added, restart the equipment and monitor the aquarium for any signs of stress or distress among the inhabitants.
Determining Water Change Frequency and Volume
The frequency and volume of water changes depend on various factors, including:
• Aquarium size and stocking density
• Filtration system efficiency
• Nutrient levels and water parameters
• Overall aquarium maintenance routine
As a general guideline, aim to perform water changes of 10-25% of the total volume every 1-2 weeks for most freshwater aquariums. However, closely monitoring water parameters and observing the behaviour of your aquarium inhabitants will help determine the optimal water change schedule for your specific setup.
Conclusion
Mastering the art of freshwater aquarium water changes is essential for maintaining a healthy and balanced aquatic environment. By following these steps and adjusting the frequency and volume of water changes as needed, you can provide your aquarium inhabitants with the clean, pristine water they need to thrive. Remember, consistency and attention to detail are key to success in aquarium maintenance.